Charcuterie boards are a great appetizer for any time of year, but especially for Thanksgiving. Whether it's a friendsgiving or a family Thanksgiving celebration, I'm breaking down my rules for creating the best Thanskgiving charcuterie board.
This post may contain affiliate links, meaning I may earn a small commission when you click on the links and make a purchase. I will never recommend a product that I don’t support 100%.

1. Take advantage of seasonal products!
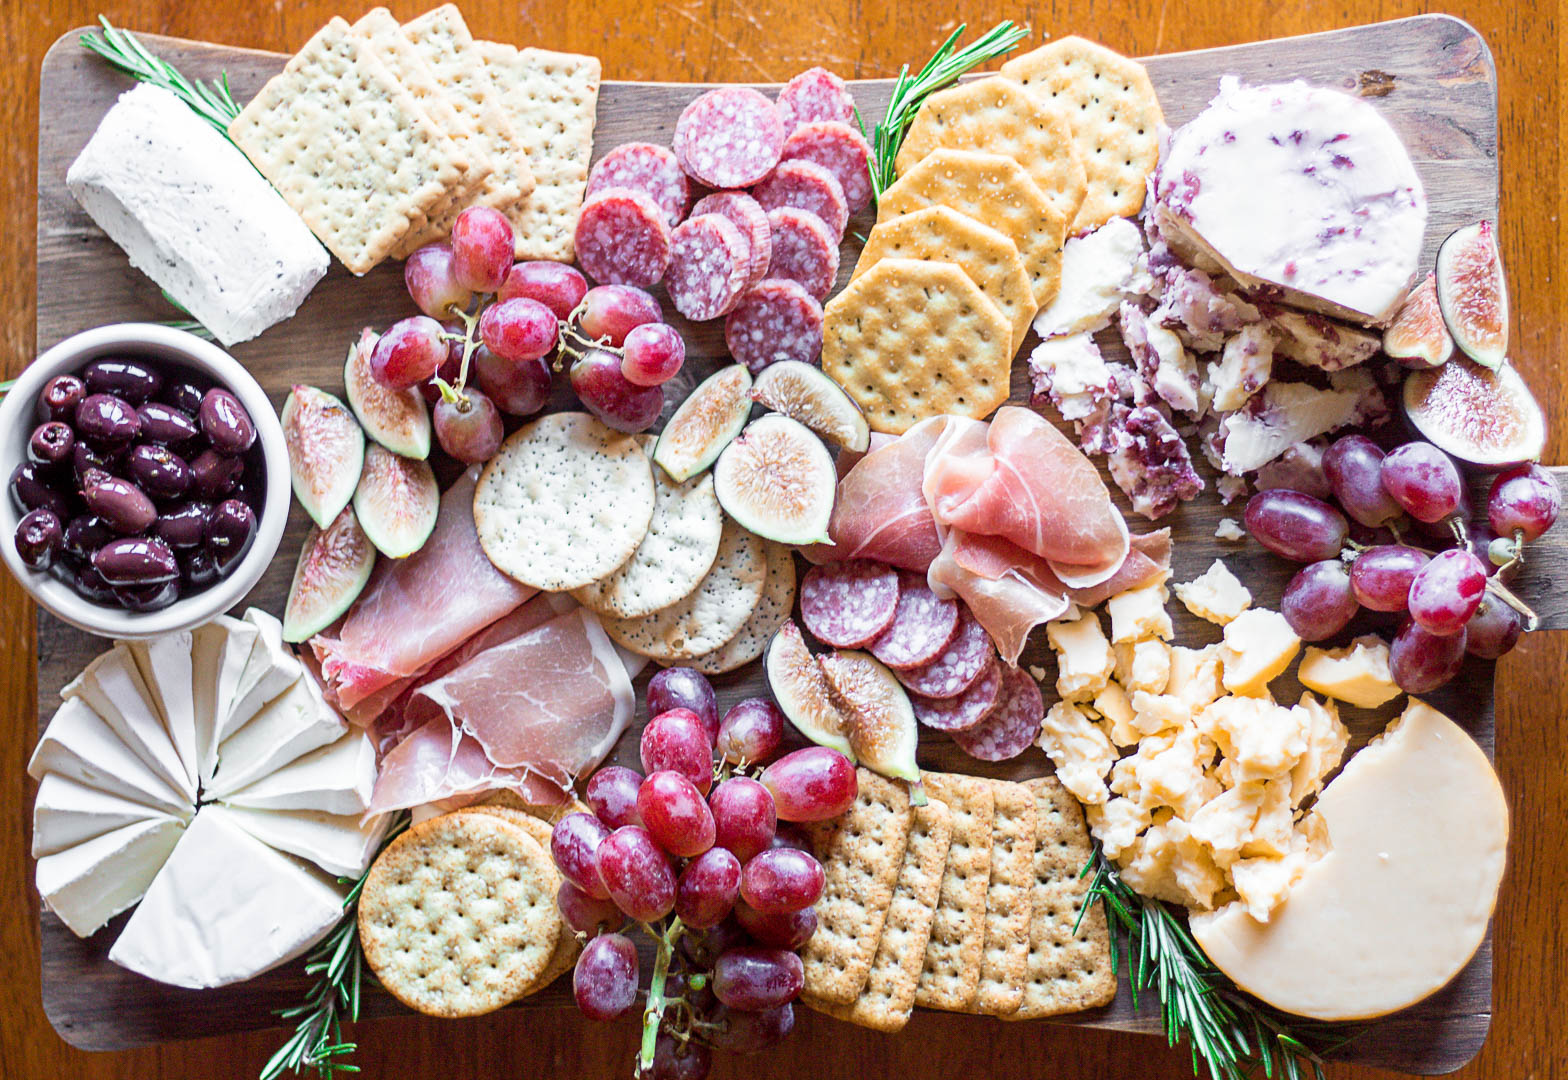
Take advantage of the seasonal products that your local store has! This cheese is a cranberry white cheddar and it was delicious. They also had a cranberry cinnamon goat cheese at ALDI. You can for sure find one or two seasonal cheeses in your local store to make your Thanksgiving Charcuterie stand out.
2. Take advantage of in-season produce!
In-season produce is always the best price, first and foremost. Second, it's always the most flavorful! Take advantage of all the seasonal produce. For this charcuterie? I wanted to focus on sweetness, so I included figs (which technically aren't in season... but I mean they make it so pretty) + grapes. You can also include freshly sliced apples (be careful though since they brown quickly), carrots, mangoes (fresh or dried), roasted beets or whatever else comes to mind!

3. The serving breakdown
I made this charcuterie board for a party of roughly 30 people. Yes, I had to refill the crackers (I bought an assortment from ALDI, it was the best! Highly recommend.). We had some of the cheeses left over, but the majority of everything was totally gone. So, I would recommend the below. You can pin the graphic below to save it for easy reference!

Step by step: how to make the best charcuterie board
1. Find your go-to charcuterie board.
What I mean by that is to find your literal board. I like having 2 go-to boards, one small board, and one larger board. If you're looking to create a huge spread, you can lay down parchment paper over a counter or table.
2. Place your cheeses on your board.
I typically use square boards so I like placing cheeses in the corners. If you use a circle board, you can still place the cheeses on the outskirts of the circle and place them diagonally across from one another.
3. Place your meats down.
Now, I don't place all the meat down at once. I like to put down different cuts next to cheeses they'd pair well with. For example, I put some hot capocollo next to the honey goat cheese. The hot with the honey made for a killer combo. So, place a few slices of meat next to or near each one of your cheeses.
4. Add in anything that’s going to be held in a container, like jelly, olives, or dips.
This is when I place anything in a container. Dips, olives, jams/jellies, or other spreads like tapenade. Similar to the meats, I like to place each thing next to a cheese where it would make sense to pair it with. For example, I placed the apricot preserves next to the brie cheese. You could also place it next to the cheddar cheese, too.
5. Time to "color" as I call it... add in your fresh produce!
Take all your produce and start to fill in your board to add vibrancy and really make it pop! I like taking advantage of in-season produce, or cucumbers and peppers are always a great go-to veggie option.
6. Add in your crackers, or your "vehicles" as some people call it.
I am personally ok with not making too much room for the crackers, mainly because I want to ensure I have enough room for all the goodies. If you need to, keep crackers on a plate nearby!
7. Finish filling in any blank spots with nuts, dried-fruit or anything else you'd like to add.
You want your board FULL and that means borderline no blank spaces. Nuts, dried fruit or any small produce like blueberries make for the perfect space fillers.

Amazon finds to make the best Thanksgiving charcuterie board
This is a massive Acadia wood charcuterie board that would be perfect for Thanksgiving and any other party you may be hosting.
You'll also want to make sure you have cheese knives! This kit has everything you'll need from mini spoons to mini tongs to cheese knives, it's so useful to have for any occasion.


Carla Bundy says
Your information is so helpful! Thank you for putting this together. I look forward to more helpful rules! : )
Deta says
Hi, I love this and thank you so much for these equations. I am wondering though, when it comes to the meats. Do you have an estimated weight of how much per meat item to get?
Katie Kelly says
I would say 4 oz. packages would work!